
Polishing/cleaning Foggy Supra Headlights
Foggy Supra Headlight Restoration
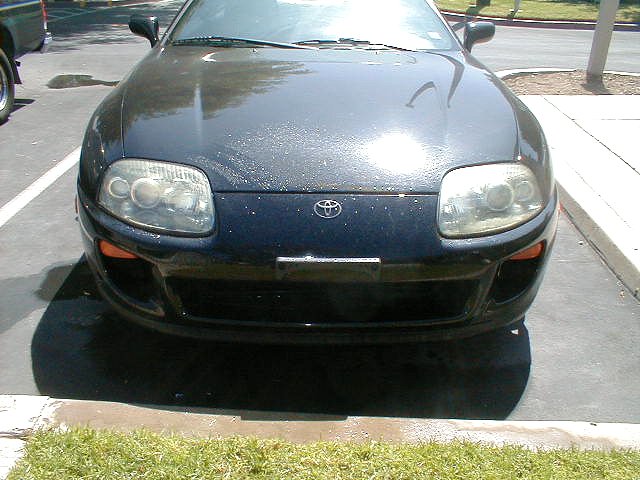
I’ve helped cleaning out many headlights for local supras down here in SoCal. The discoloration you see
is inside the headlights usally…in some cases outside only. The procedure
requires popping your lights into the oven for about 5 minutes at low temperature
(be careful or you will damage the light), then
removing the plastic casing. From there, you need to polish the plastic with a
good plastic polish and scratch remover. Using the right product is
important, you don’t want to be leaving scratches and nicks on the plastic
surface. Use a product such as Novus, Plexus, or Meguiar’s plastic
cleaner/conditioner. You will certainly want to use Novus, as it will leave the
final surface very clean and shiny. A high speed polisher will save you a
lot of time and effort. Although, it can be done by hand and some elbow
grease.You can also find these at
websites by doing a search for ‘novus plastic cleaner’ or ‘plexus plastic
cleaner.’
Silicone/RTV sealant: can be bought at local car parts stores for about
$3 in a small tube.Sand paper: use 2000Grit paper, and wetsand the outside of the headlights
using a soapy water solution. Your headlights will be crystal clear and
smooth. Also, follow up by buffing the sanded surface with the plastic
polish/cleaner.Oven Temperature: about 175-200F for about 5-10 mins, depending on the
actual temperature of the oven. Leave the headlights in there until they
are somewhat warm to the touch. Start at one end of the headlight, and use
a dull object such as a butter knife of dull screwdriver to separate the
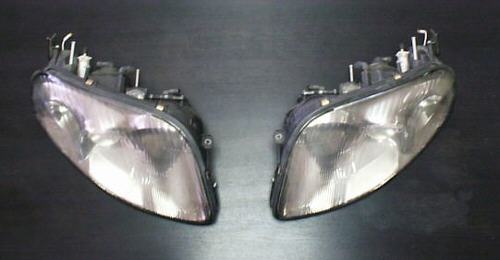
headlights.Here are the headlights we
started with,
Heat the
headlights in the oven, pop ’em apart.
![View[1].jpg (90629 bytes)](View%5B1%5D.jpg)
![View[2].jpg (91869 bytes)](View%5B2%5D.jpg)
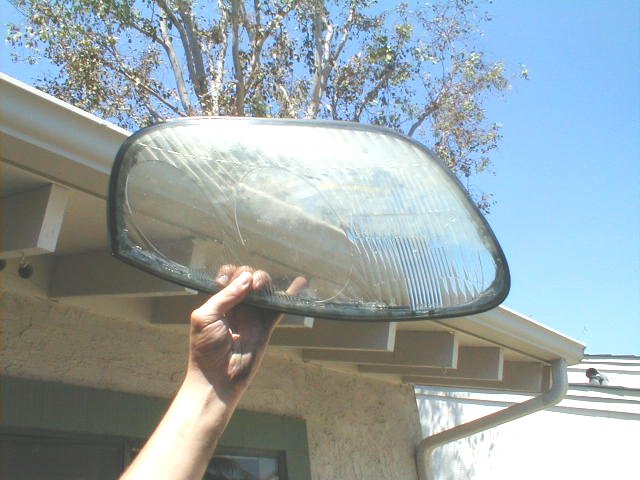
Take out the
screw, remove the shiny plastic piece.
![View[3].jpg (89452 bytes)](View%5B3%5D.jpg)
![View[4].jpg (92104 bytes)](View%5B4%5D.jpg)
All three
pieces need cleaning…
![View[5].jpg (90759 bytes)](View%5B5%5D.jpg)
PorterCable
7424, Novus, Plexus, and a Microfiber cloth. Indispensible tools.
![View[6].jpg (89684 bytes)](View%5B6%5D.jpg)
Spray Plexus to
clean the surface. Wipe off with microfiber.
![View[7].jpg (90496 bytes)](View%5B7%5D.jpg)
Apply Novus
heavy scratch remover.
![View[8].jpg (90466 bytes)](View%5B8%5D.jpg)
Buff out
scratches at about 4000rpm.
![View[9].jpg (91761 bytes)](View%5B9%5D.jpg)
Repeat for
outside surface.
Also, wetsand using 2000 grit sandpaper to leave a smooth finish.
![View[10].jpg (90972 bytes)](View%5B10%5D.jpg)
Spray plastic
with Plexus, wipe off.
![View[12].jpg (91257 bytes)](View%5B12%5D.jpg)
![View[13].jpg (89419 bytes)](View%5B13%5D.jpg)
![View[14].jpg (88713 bytes)](View%5B14%5D.jpg)
![View[15].jpg (89311 bytes)](View%5B15%5D.jpg)
The finished
result…clean headlights!
![View[16].jpg (91093 bytes)](View%5B16%5D.jpg)
![View[17].jpg (87232 bytes)](View%5B17%5D.jpg)
Put the screw
back..
![View[18].jpg (90479 bytes)](View%5B18%5D.jpg)
Once the cleaning is done, put
the cleaned two pieces back into
the oven to allow the existing rubber sealant to warm up.
Leave for about 2-3 minutes. Take them out, and apply the
silicone sealant to the two pieces. Put them back together (requires
a bit of force).
Optionally, you can add another bead of silicone sealant once the pieces have
been put back together.
![View[19].jpg (93565 bytes)](View%5B19%5D.jpg)
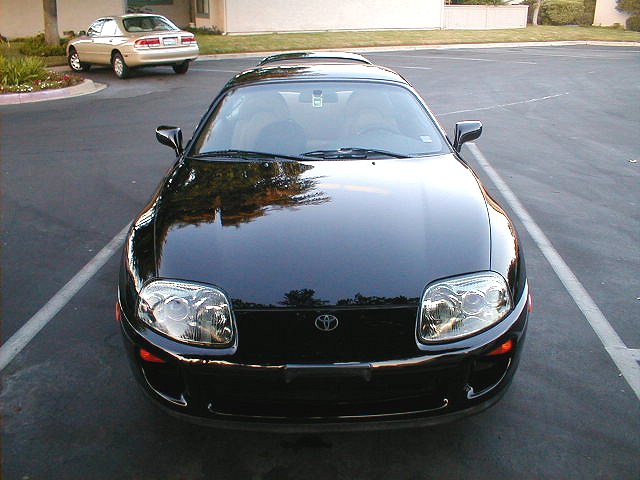
Here are the headlights after
they were done,
Comments/suggestions? Email
me
![]()
Leave a Reply