
European hood scoop install
European Hood Scoop Install
By Ron Lambertson & Piotr Kapiszewski
Parts List:
76181-14900 Bulge, Hood
76182-14010 Guide, Hood Air Intake
76183-14010 Protector Hood Bulge, No. 1
76184-14010 Protector Hood Bulge, No. 2
76187-14010 Retainer, Hood Air Intake Guide, No. 1 (2)
76192-14010 Plate, Hood Bulge
93567-14512 Screws (8)
90179-06058 Nuts (4)
76186-14010 Seal, Hood Air Intake
Tools:
- Dremel tool and cut off wheels
- four plastic fasteners for the underside metal air guide
- masking tape
- drill and drill bits
- phillips screw driver
- 10 mm scket and ratchet
- razor blade or knife,
- medium grit sand paper
- piece of card board
- panel removing type tool (useful)
Step by Step:
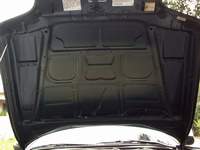
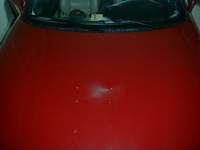
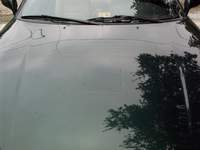
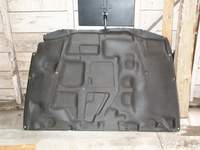
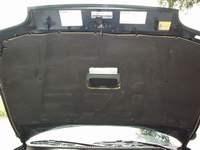
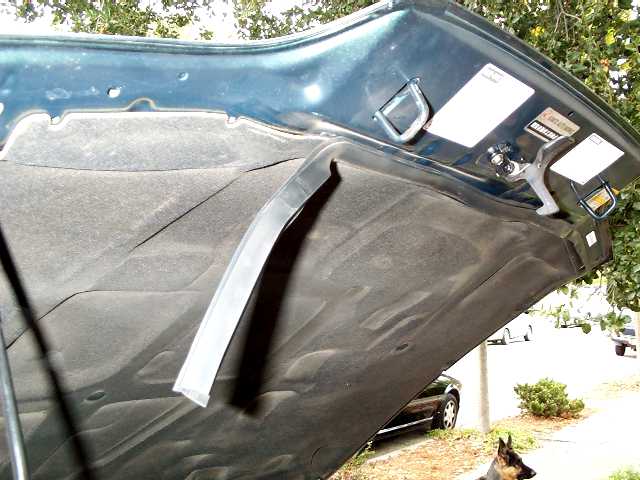
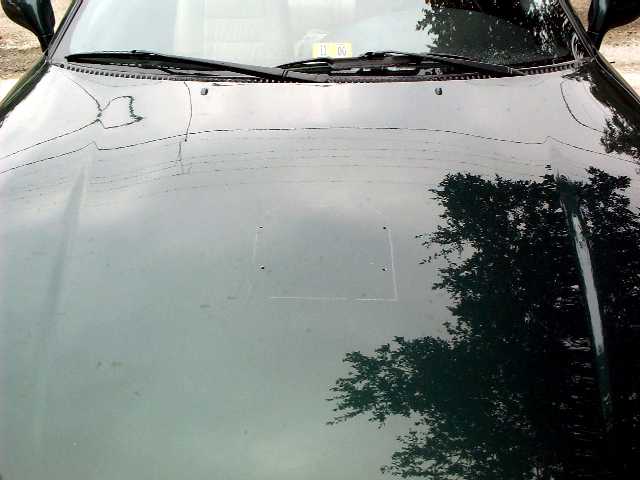
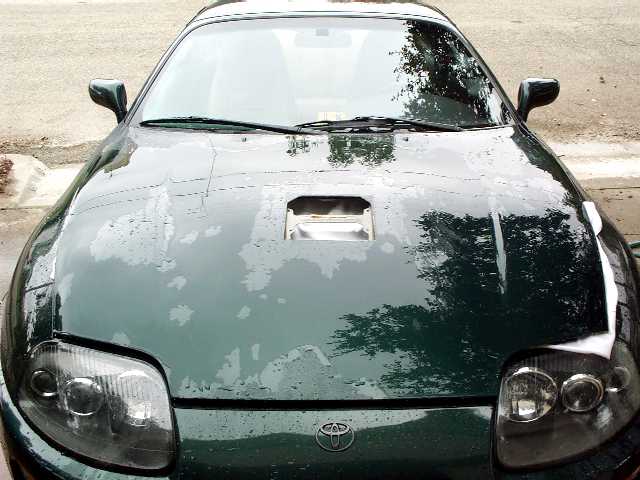
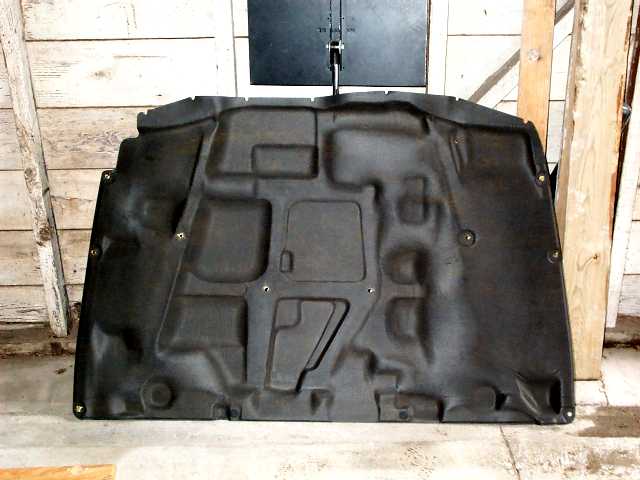
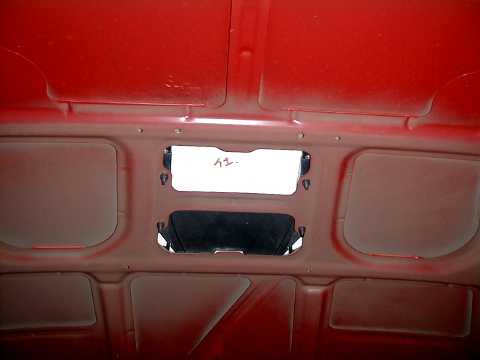
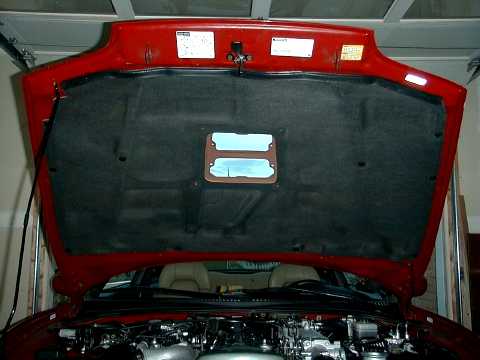
Here is what you are going to start with:
Start at the front of the hood and first take that part out.
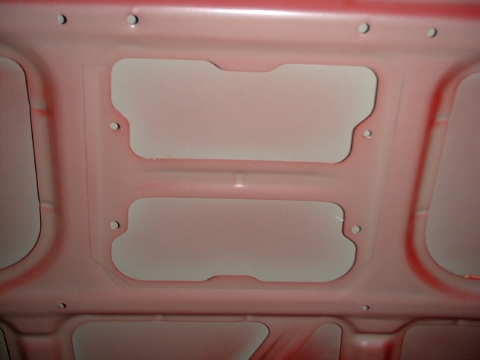
Remove the factory hood heat shield by popping out the
plastic fasteners.
A panel removing tool is helpful. Be
careful not to damage the heat shield.
It’s made of a
paper/fiberglass material that tears easily.
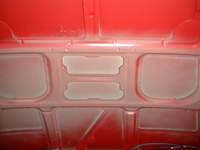
Notice the back two
fasteners don’t pop out.
The just pull up, forward and out of the
holes in the hood.
All others pop out completely.
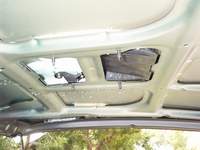
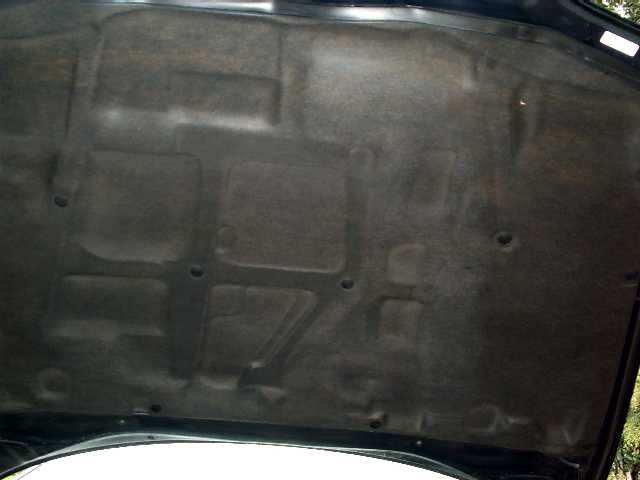
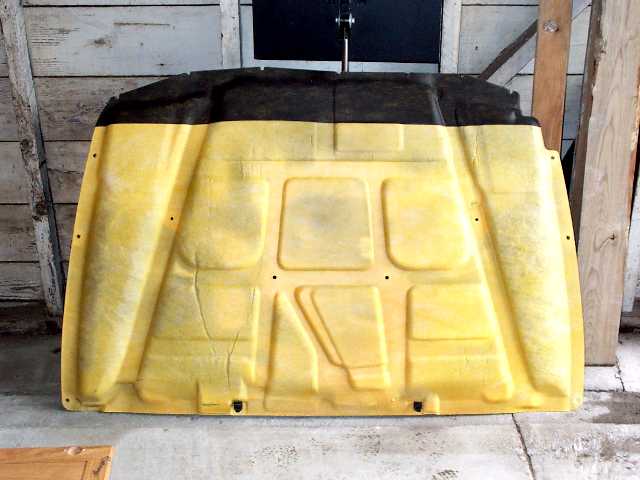
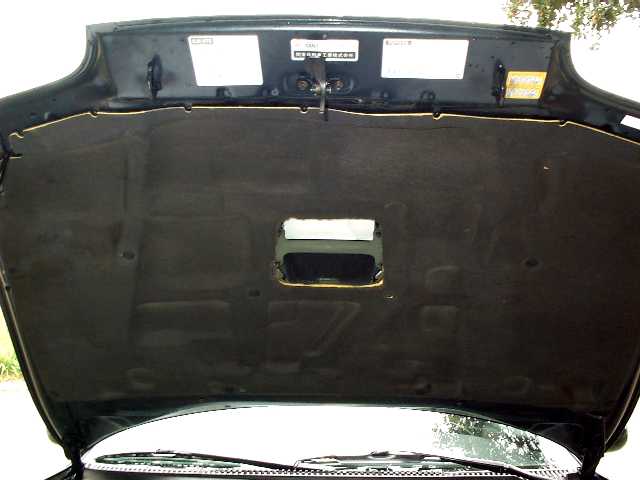
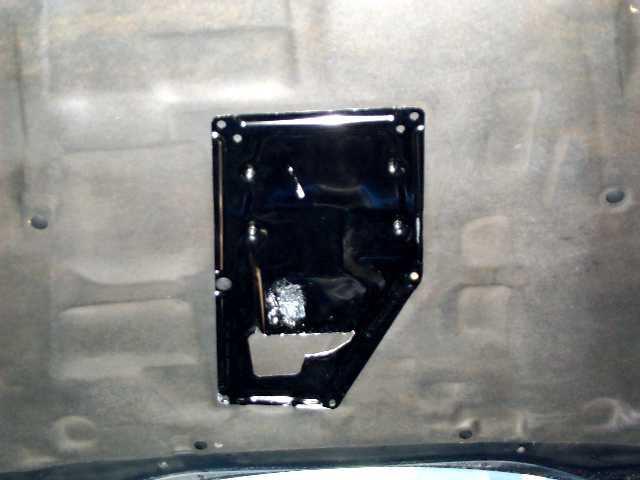
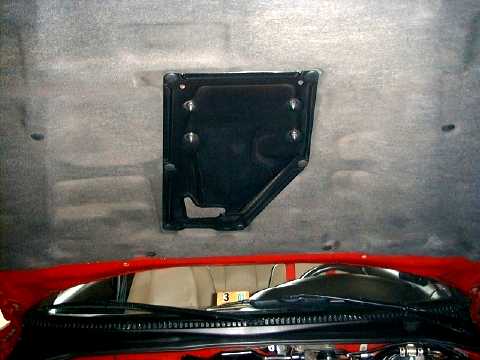
Once you remove the heat shield your hood will look something like
this.
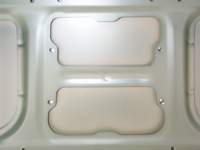
Using a drill bit of the appropriate size, now drill from the
underside
of the hood through the four holes in the factory support
used
to secure the studs to the hood. Drill very carefully.
The
hood is thin aluminum and the drill bit can bend the metal as it goes
through.
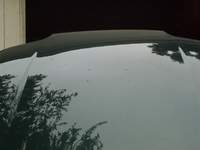
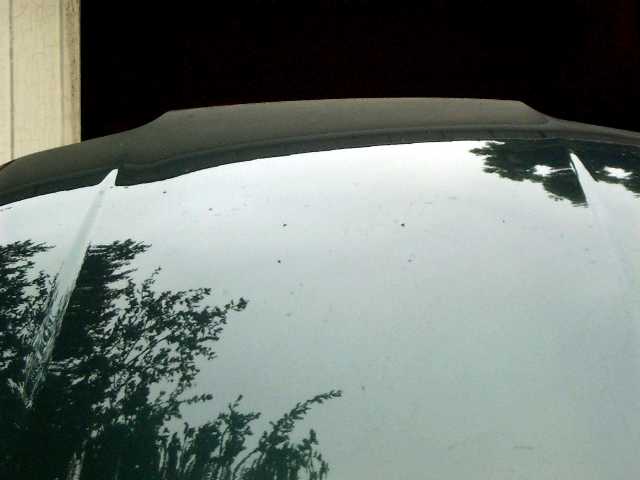
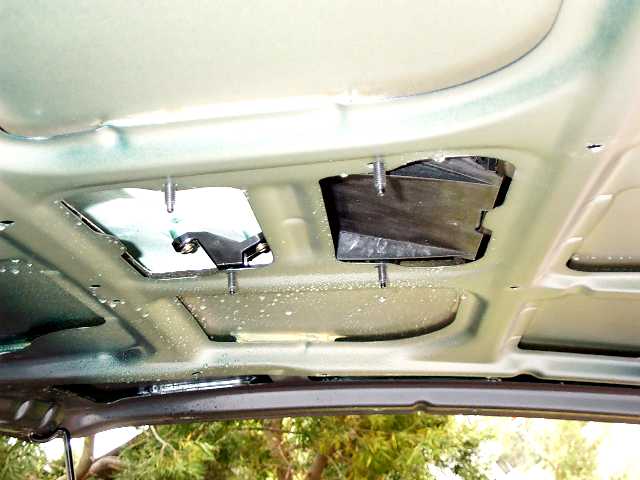
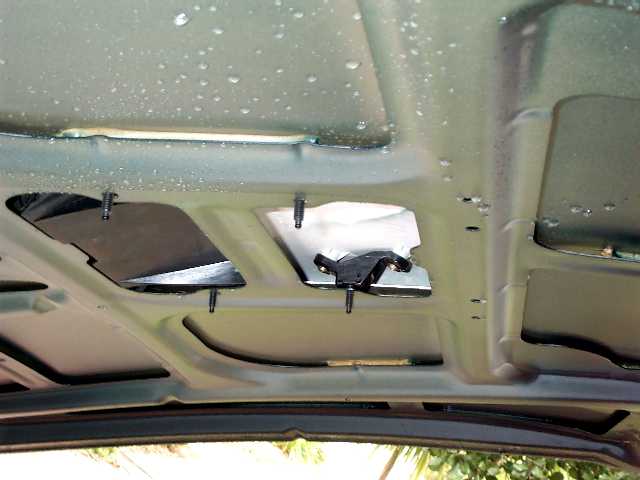
It may not be easy to see but this shot show you
what the hood will
look like from the top right after the holes are drilled.
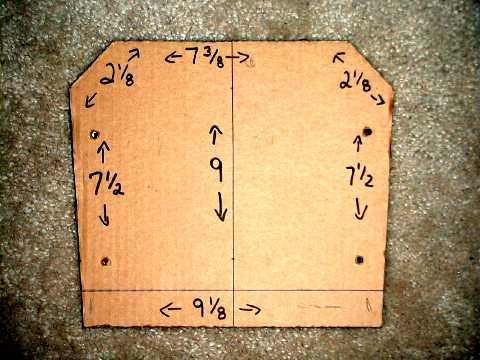
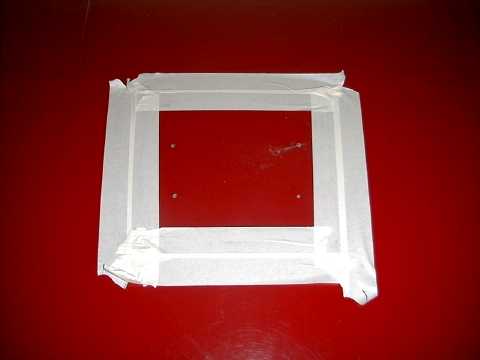
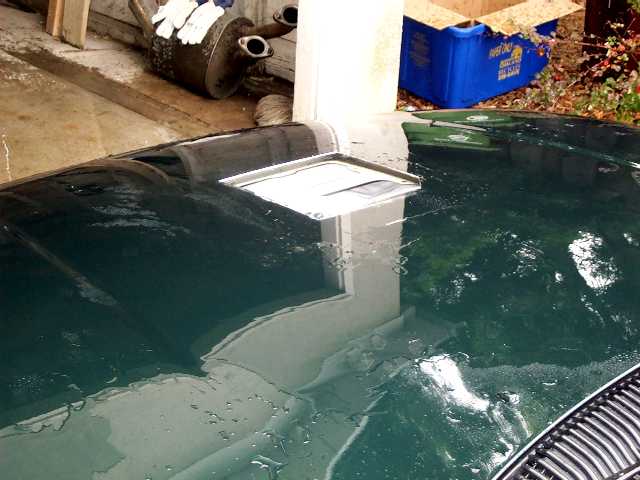
Now we are ready to make a template which will be
used to mark the are
we need to cut out of the hood.
Click on this picture to get a pre-made
template,
printing info labeled in this picture…
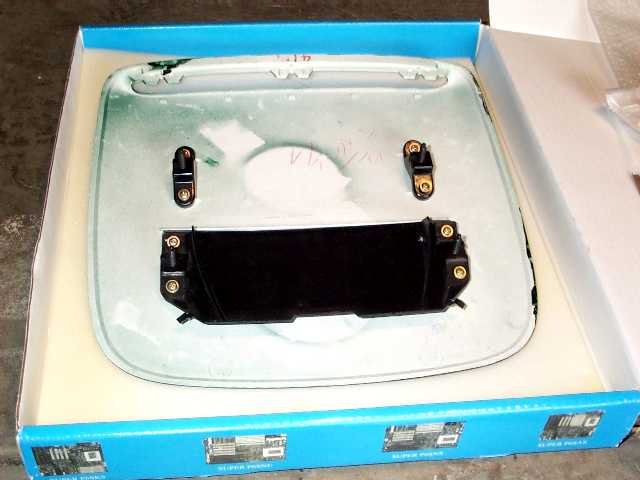
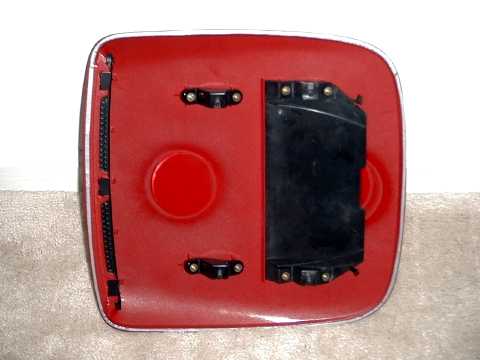
Temporarily assemble the two underside fasteners and plate with the
studs to the underside of the scope with the phillips screws. A little
soap on the screws will make them go into the unthreaded fiberglass easier
if they are really tight. (Make sure you get the screws in perfectly
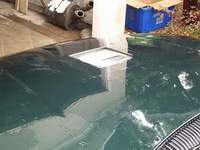
as there are no second takes here if you make a mistake). I had my scoop painted prior to starting this project. In order
to protect it from getting scratched I used an old motherboard box with
padding on the bottom.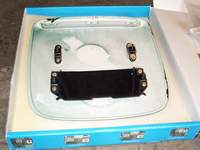
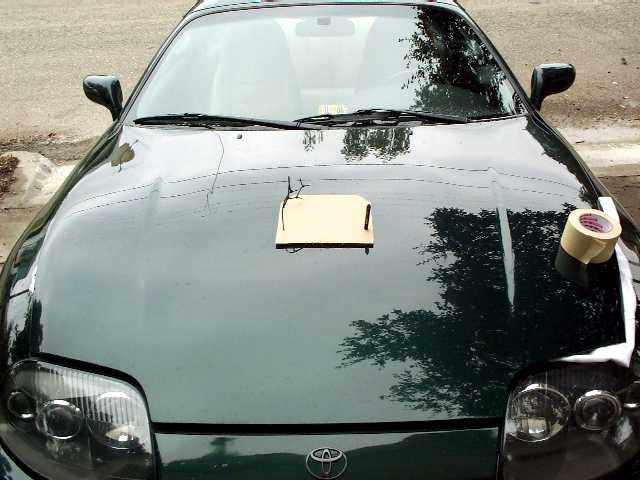
Now lay the cardboard template on top of the hood matching
up the
four holes to the four holes you have drilled.
Mark the outline of
the template on top of the hood with a thin marker or pencil.
I used some spare zip ties and a screwdriver to align the form with the
drilled holes.
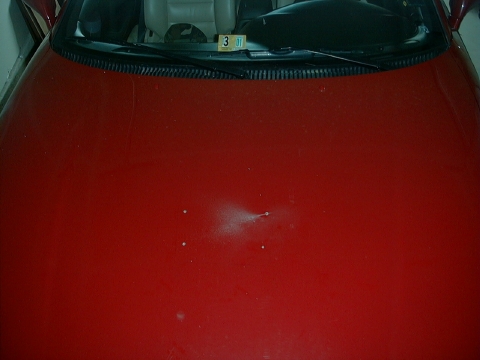
Once the outline is done you should end up with a nicely scratched hood
like in this picture.
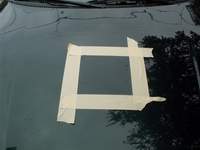
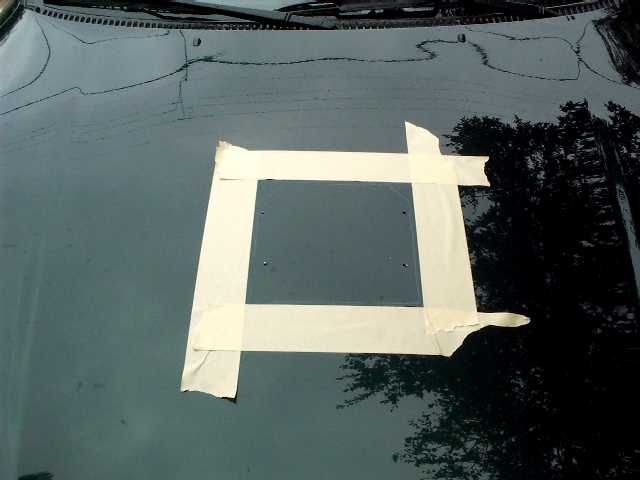
Time to do some cutting. Mask off the are around the area you have marked.
This will help
prevent any scratching of the hood paint while working.
I also kept washing the hood with water to prevent scratching.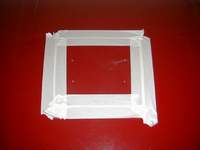
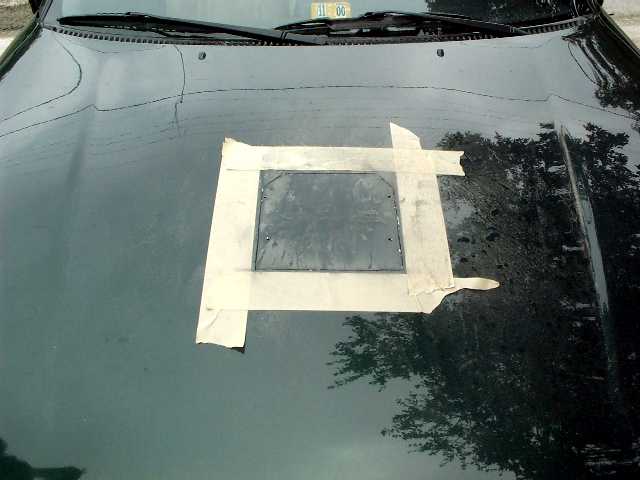
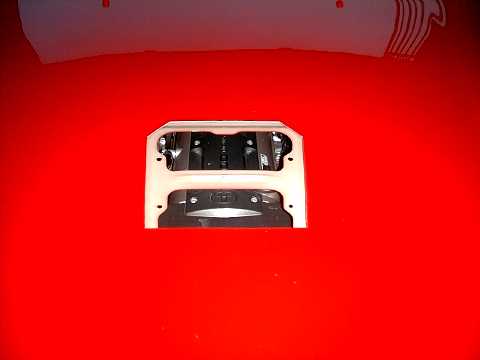
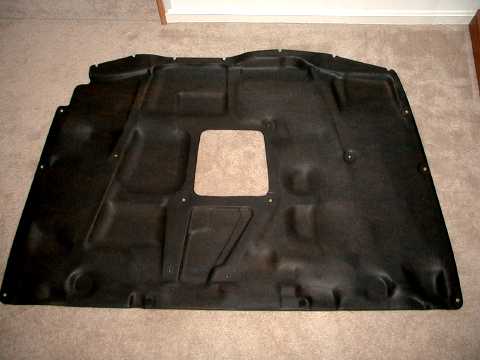
Once done cutting here is what you should see.
Using the sand paper, sand the edges of the hole so they are
smooth.
The hood is aluminum so it won’t rust. I didn’t bother
painting the edges
of the cut out. Clean the hood by spraying with a water hose.
Don’t do any wiping
or the metal particles from
cutting with scratch the paint. Remove
the tape.

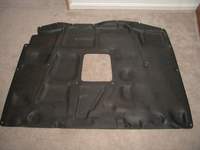
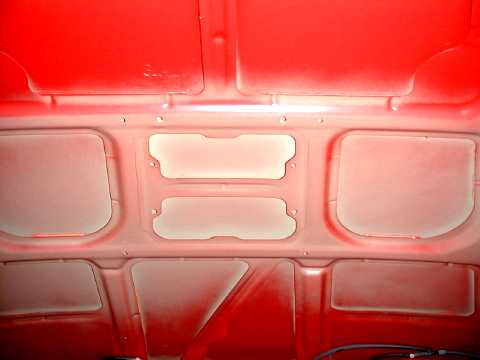
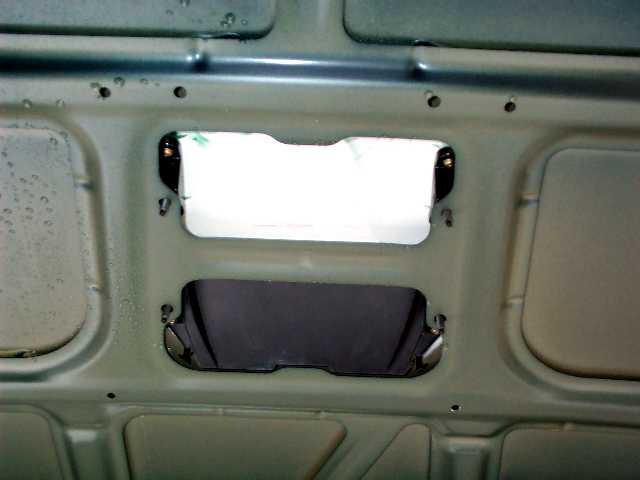
While the hood is drying lets cut a hole in the heat shield.
Here are some pics of the stock heatshield.
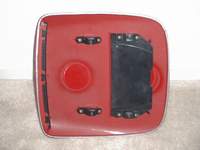
Now we put the whole thing back together.
Install the metal mesh into the scoop. Install the underside
studs and the plate with the studs to the underside of the scoop if they
aren’t already on. Then fit it on the hood.
At this point I just put the nuts on to hold the
scoop in place while
I reinstalled the heat shiled.
Almost there. When installing the heat shield don’t
reinstall the center plastic fastners as they will need to also hold the
metal air guide.Before installing the hood scoop permanently decide if you want to use
the factory gasket or not on it. I used the factory gasket. Ron
didn’t. Instead of using the factory gasket and foam strips for the
underside of the scoop, I cut some thin strips of duct tape to serve as a
gasket. I don’t think the factory gasket will look good once
installed. It doesn’t wrap completely around the edge of the scoop
and it curves up and out so it will be seen when finished. Just make some
thin strips of tape and keep them slightly in from the edge. When
mounted, the scoop will lay very flush but the tape provides a little
cushion and seal that can’t be seen. I think the choice here depends
on the color of your car.
Insert the two factory fasteners in the middle of the air
guide. Holes are already there. Using a drill bit, punch small
holes through the four holes at the corners of the metal air guide through
the heat shield. Insert the plastic fasteners into all six holes of
the metal air guide. I had to slightly cut the new fasteners shorter
because there is little clearance between the frame of the hood and the
top of the hood.
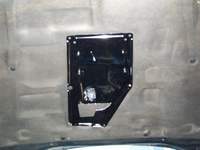
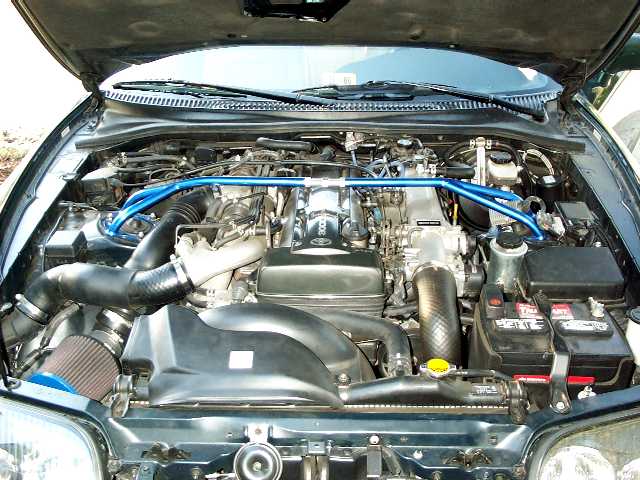
One of the additional difficulties I had to work around was
a front
strut bar which required some cutting of the metal air guide.
You should
be able to see where the cuts needed to be made
to clear the strut bar. I
used metal cutters to do the job.
Since the metal air guide material is
soft its easy to cut.
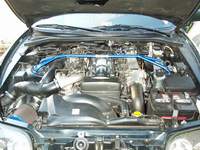
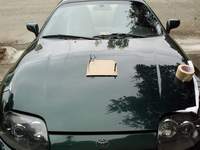
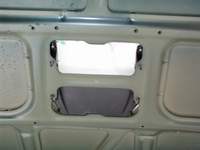
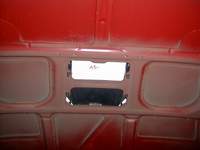
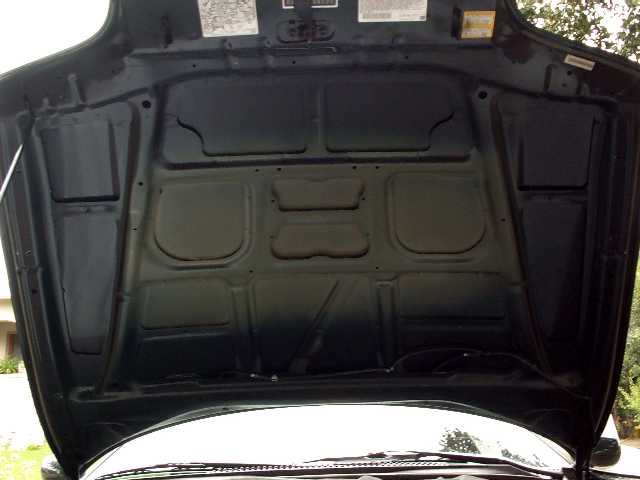
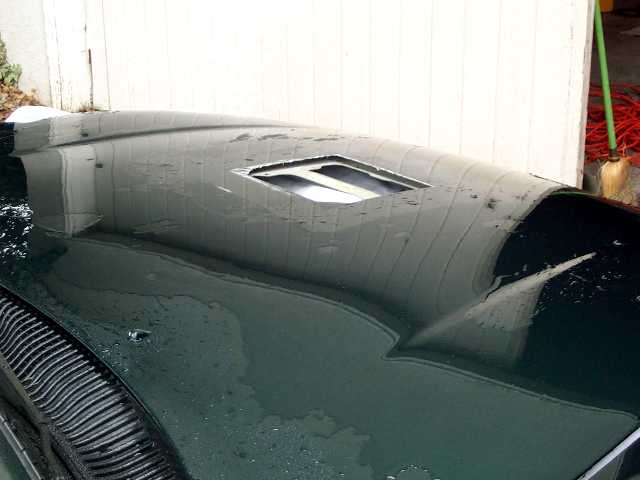
Here is Kapi’s
car
Here is Ron’s car:
Notes: I sanded and painted the metal air guide before
installing.


I just bouth a 93 toyota supra and would like to install a hood scoop like the one on your site do you have a video of this ? rico
Sorry, we don’t have any video install manuals yet.
Got any install manuals/videos yet? 😛
Greetings! Very helpful advice within this article!
It is the little change whch will make the biggest changes.
Many tbanks for sharing!